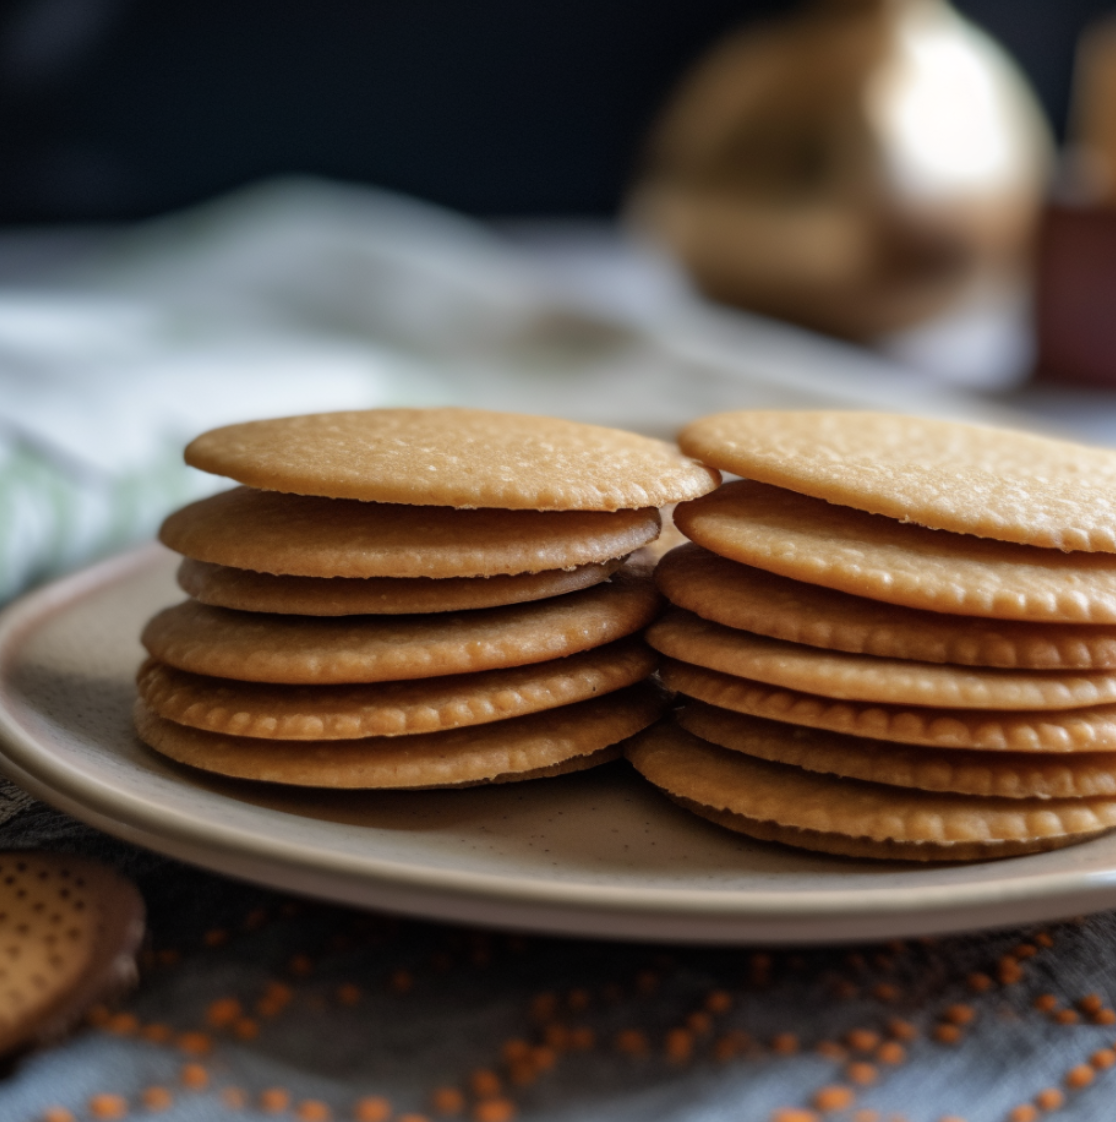
Homemade Nilla Wafers
Ingredients
- 1 cup all-purpose flour
- 1/2 cup cornstarch
- 1/2 tsp salt
- 1/2 tsp baking powder
- 1/2 cup unsalted butter at room temperature
- 1/3 cup granulated sugar
- 1 large egg
- 1 tsp vanilla extract
Instructions
- In a medium bowl, whisk together the flour, cornstarch, salt, and baking powder.
- In a separate large bowl, beat the butter and sugar together until light and fluffy, about 2-3 minutes.
- Add the egg and vanilla extract to the butter mixture and beat until well combined.
- Gradually add the dry ingredients to the wet ingredients, mixing until just combined.
- Divide the dough in half and shape each half into a log about 1 1/2 inches in diameter. Wrap each log in plastic wrap and chill in the refrigerator for at least 1 hour.
- Preheat your oven to 350°F. Line a baking sheet with parchment paper.
- Slice the chilled dough logs into 1/4-inch thick rounds and place them on the prepared baking sheet, spacing them about 1 inch apart.
- Bake for 12-15 minutes, or until the edges are lightly golden brown.
- Remove from the oven and let cool on the baking sheet for 5 minutes before transferring to a wire rack to cool completely.
Picture this: you’re transported back to your carefree childhood, munching on those iconic Nilla wafers. But what if I told you that you could experience that same delightful taste right in your own kitchen? Get ready for a mouthwatering adventure as we dive into the world of homemade Nilla wafers. With just a handful of ingredients and a dash of love, you’ll soon be savoring these irresistible treats that will impress even the toughest cookie critics.
To kick off your Nilla wafer extravaganza, gather some basic pantry staples. You’ll need a cup of all-purpose flour, half a cup of cornstarch, a pinch of salt, and half a teaspoon of baking powder. Whisk these together in a bowl to create the magic mixture that gives these wafers their incredible texture.
Now it’s time to work some baking wizardry. Grab another bowl and beat together half a cup of softened unsalted butter and a third of a cup of granulated sugar. Keep going until the mixture becomes fluffy and light, like a cloud on a summer day. This is where the cookie magic begins!
Ready for the next level of flavor? Crack in a large egg and add a teaspoon of vanilla extract to the buttery goodness. Give it a good mix until everything is well combined. Can you smell that heavenly vanilla aroma filling the air? Pure bliss!
Now let’s bring the dry and wet ingredients together in sweet harmony. Gradually add the dry mixture to the buttery concoction, mixing until everything is just blended. It’s like watching a delicious dance unfold before your eyes as the dough takes shape.
Time to give your dough a little rest and relaxation. Divide it into two equal parts and roll each one into a log about one and a half inches thick. Wrap them up snugly in plastic wrap and pop them in the fridge for at least an hour. It’s like sending your dough on a chill vacation!
As you wait for the dough to do its thing, preheat your oven to a toasty 350°F and line a baking sheet with parchment paper. Once the dough logs have chilled, take them out and slice them into quarter-inch rounds. Place these delectable discs on the baking sheet, giving them some space to spread their wings and bake into crispy perfection.
Now it’s showtime! Slide that baking sheet into the oven and let the magic happen. In just 12-15 minutes, your kitchen will be filled with the tantalizing aroma of freshly baked Nilla wafers. Keep an eye on them and take them out when the edges turn a beautiful golden brown.
The hardest part? Waiting. Let the cookies cool on the baking sheet for a mere five minutes before gently transferring them to a wire rack. Here they’ll achieve that delightful balance of crispness and tender goodness. Don’t be surprised if you can’t resist sneaking a taste or two while they cool!
Now, my friend, it’s time to revel in the fruits of your labor. Grab a homemade Nilla wafer, close your eyes, and take a bite. Let the buttery richness and heavenly vanilla flavors transport you back to those carefree moments. Whether you share them with loved ones or savor them all to yourself, these homemade Nilla wafers are a treat to be cherished. Enjoy every crunchy, delicious bite!